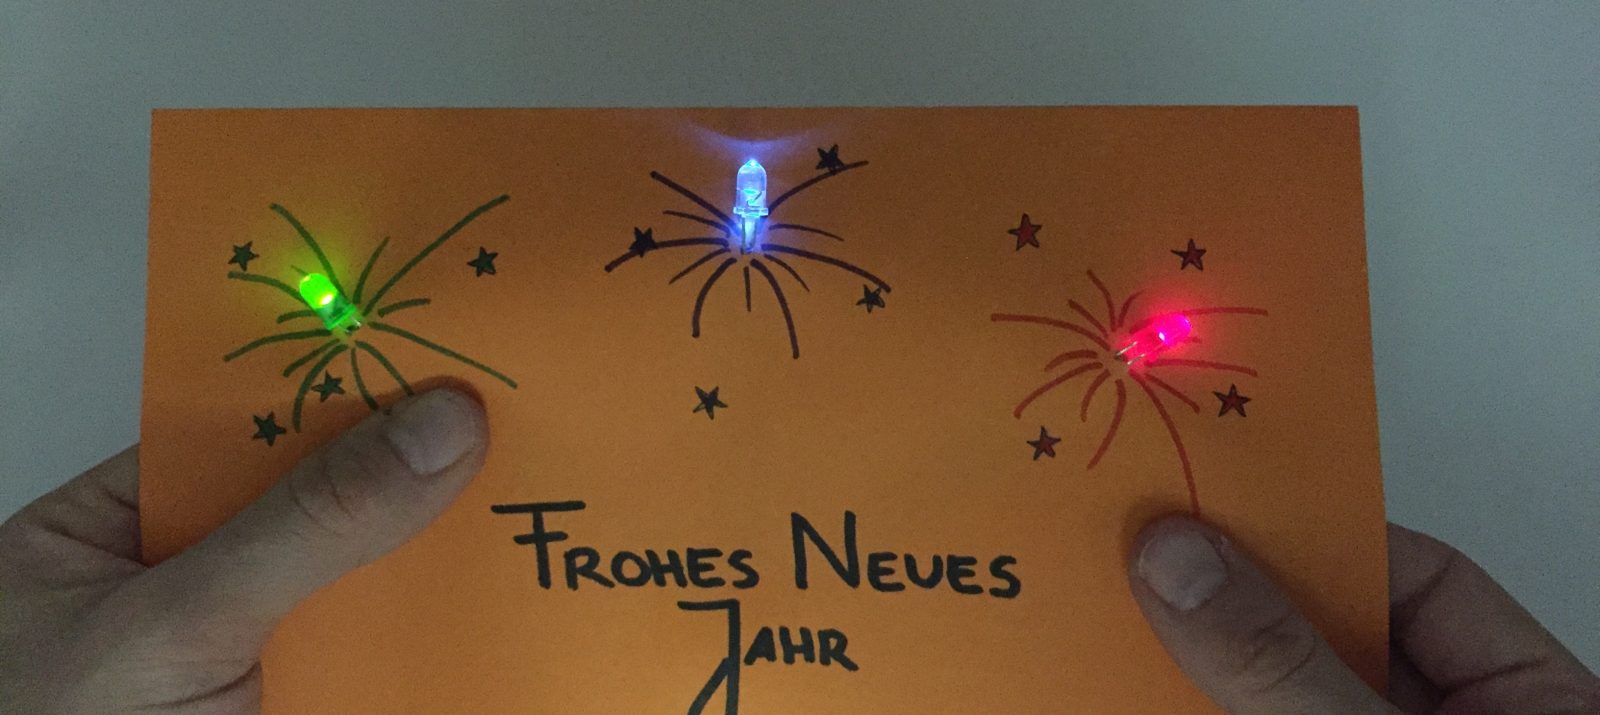
This article is a guest post by Kristin Narr.
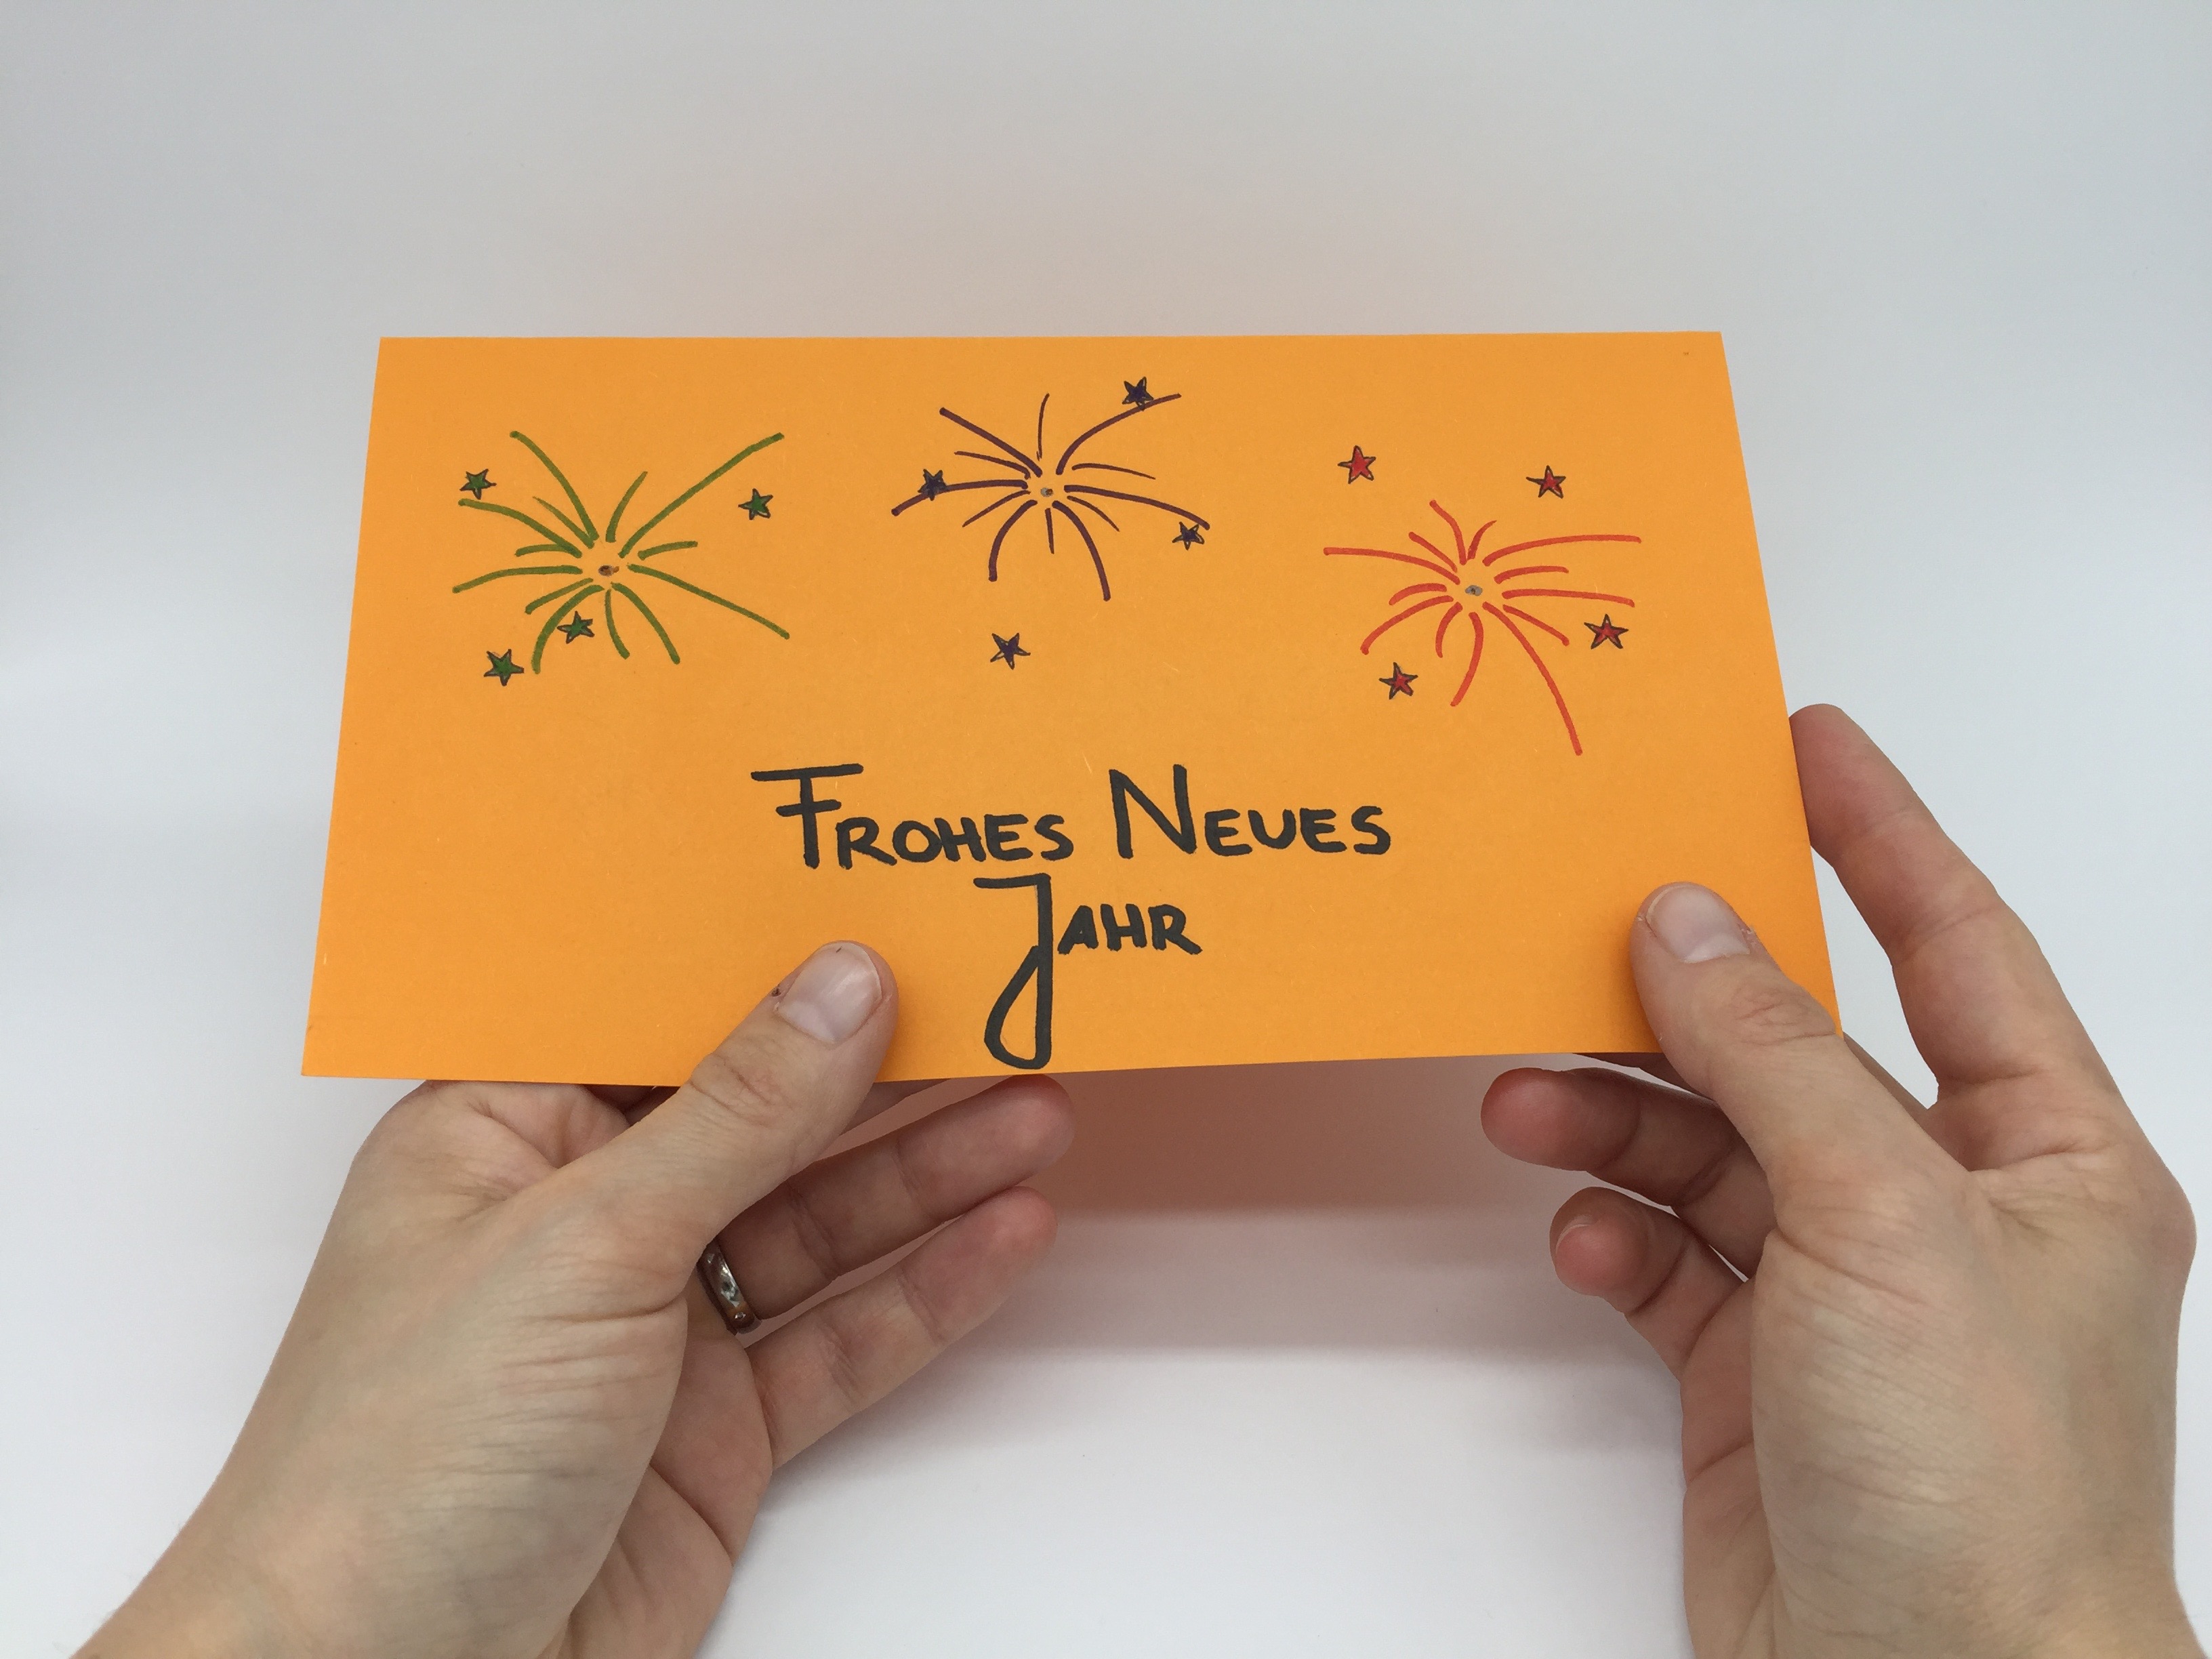
Photos of the tutorial by Kristin Narr, CC BY 4.0, https://creativecommons.org/licenses/by/4.0/legalcode
Step 1: Fold a thicker paper in your favorite color into a folded card.
Step 2: Paint a nice New Year’s theme (or whatever you want) on the front. When doing this, consider where the LEDs should be located.
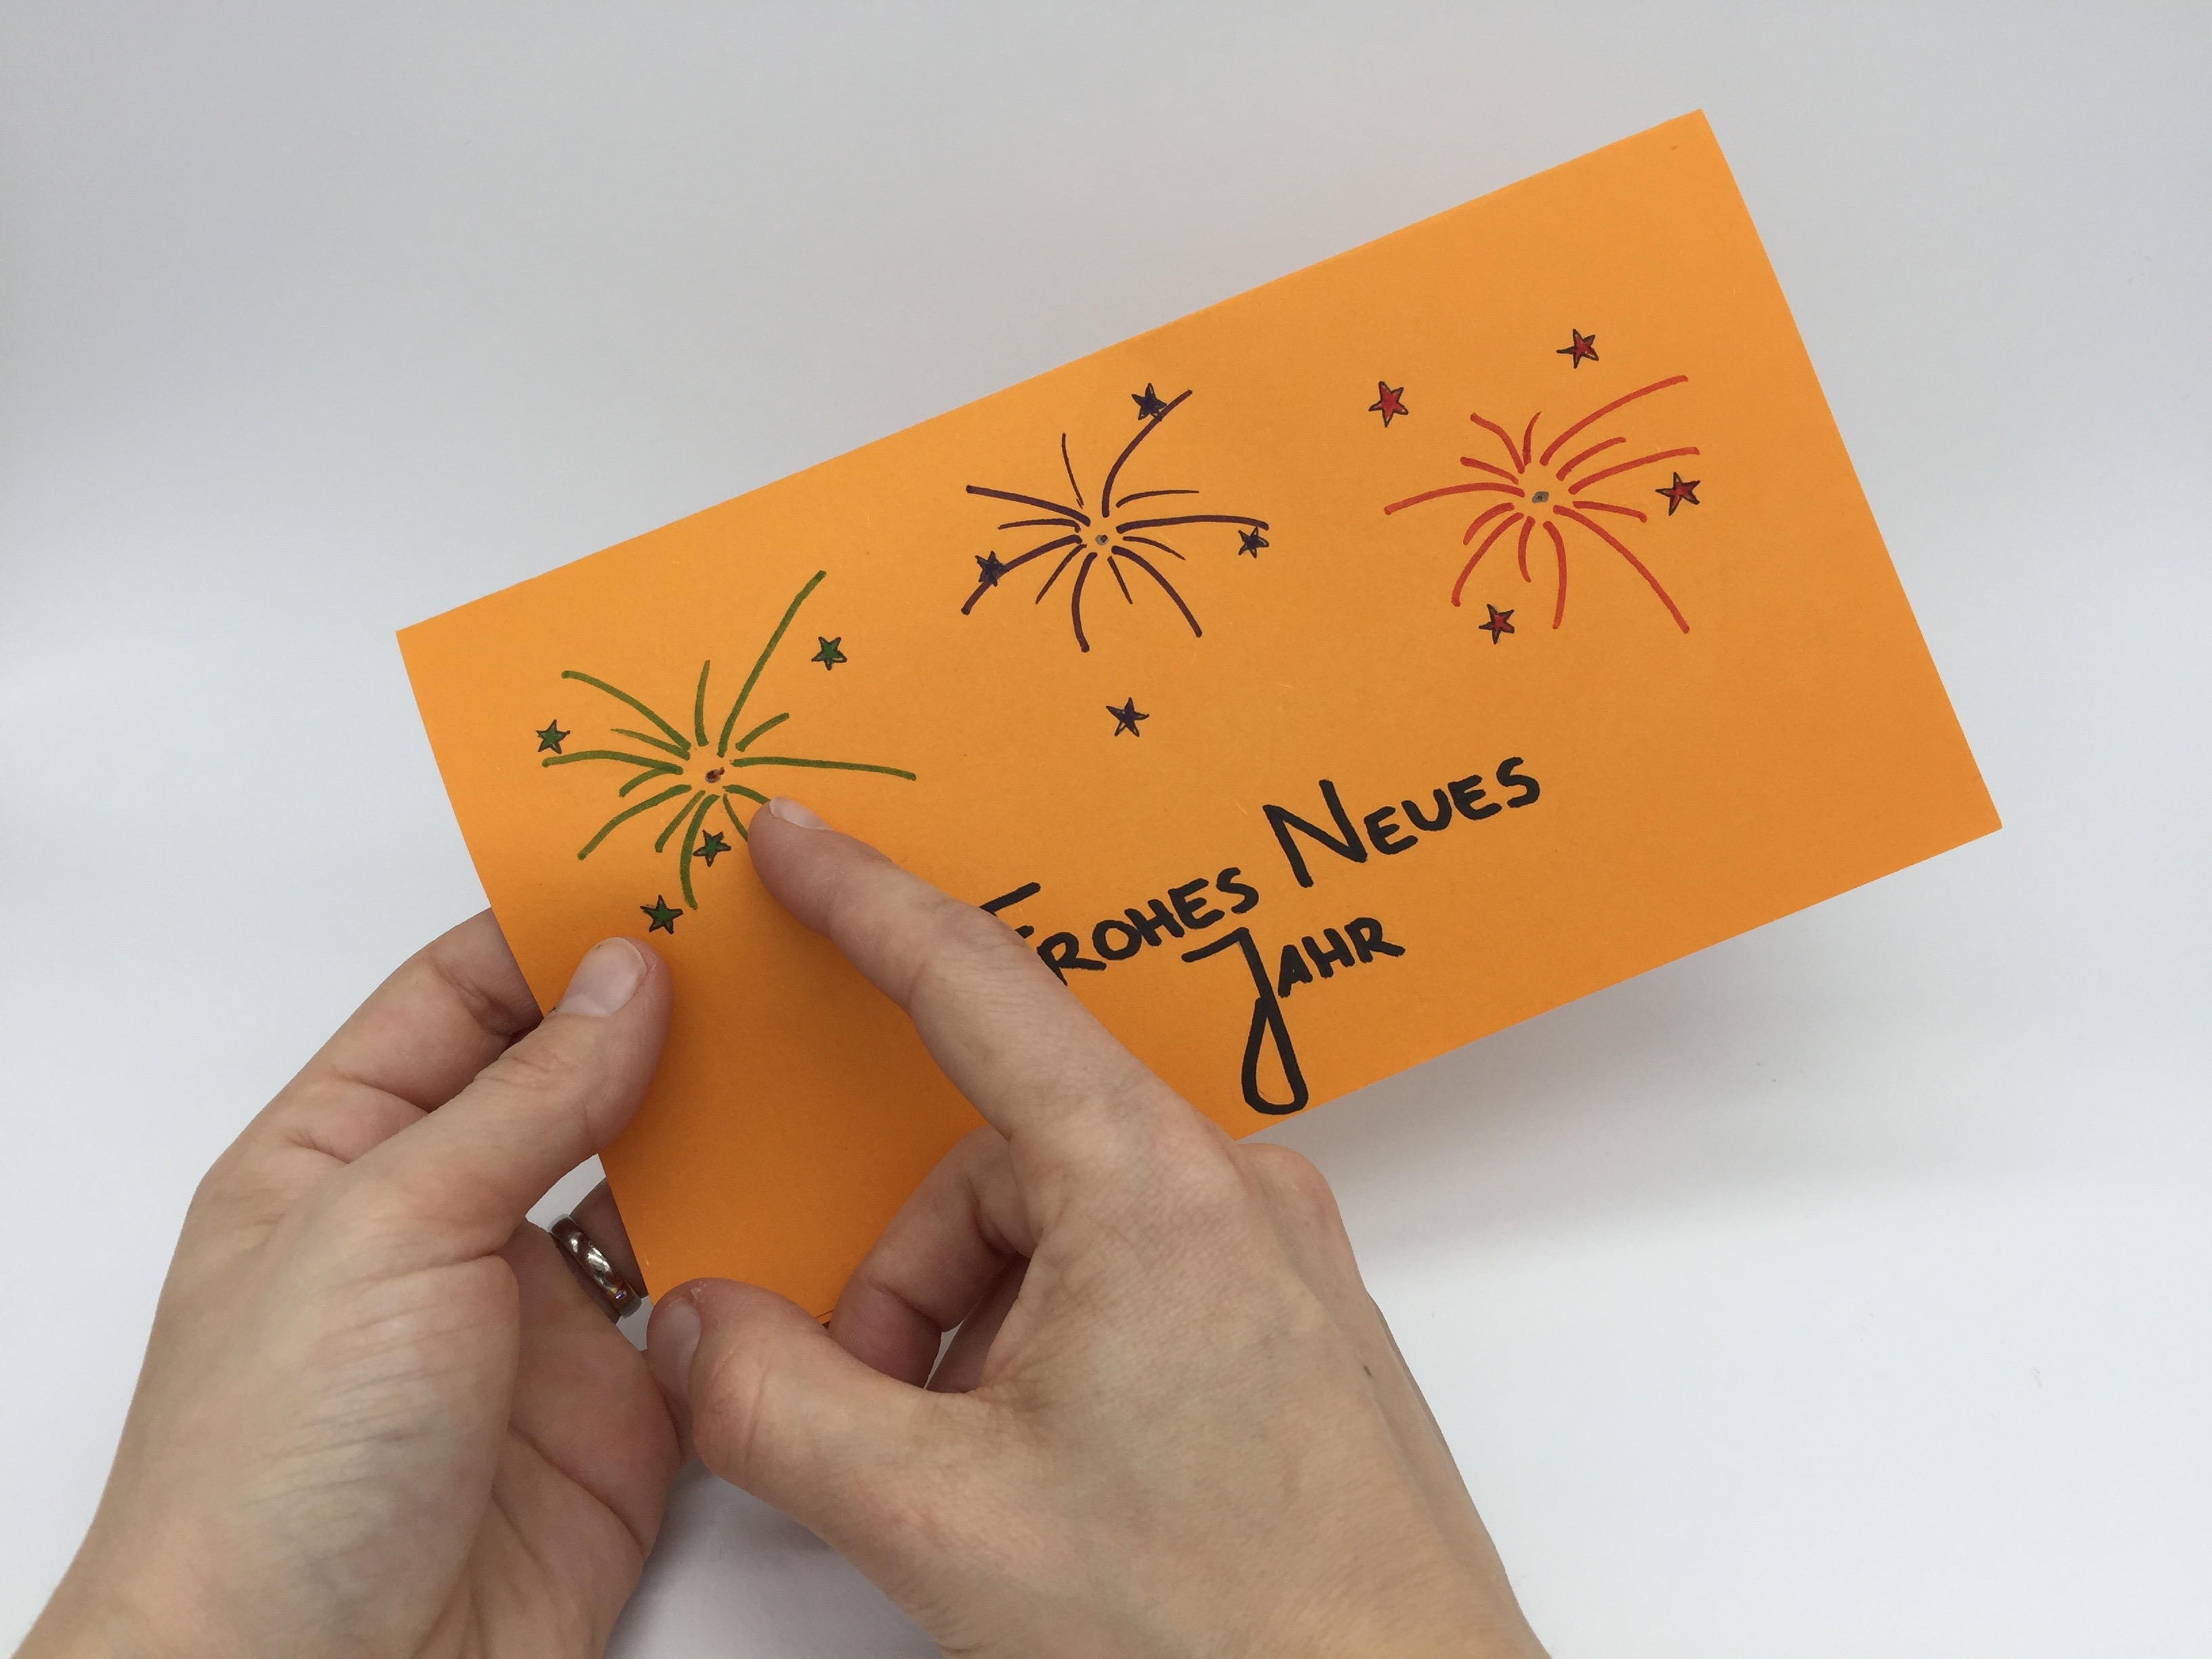
Step 3: Poke holes for the LEDs in the card.
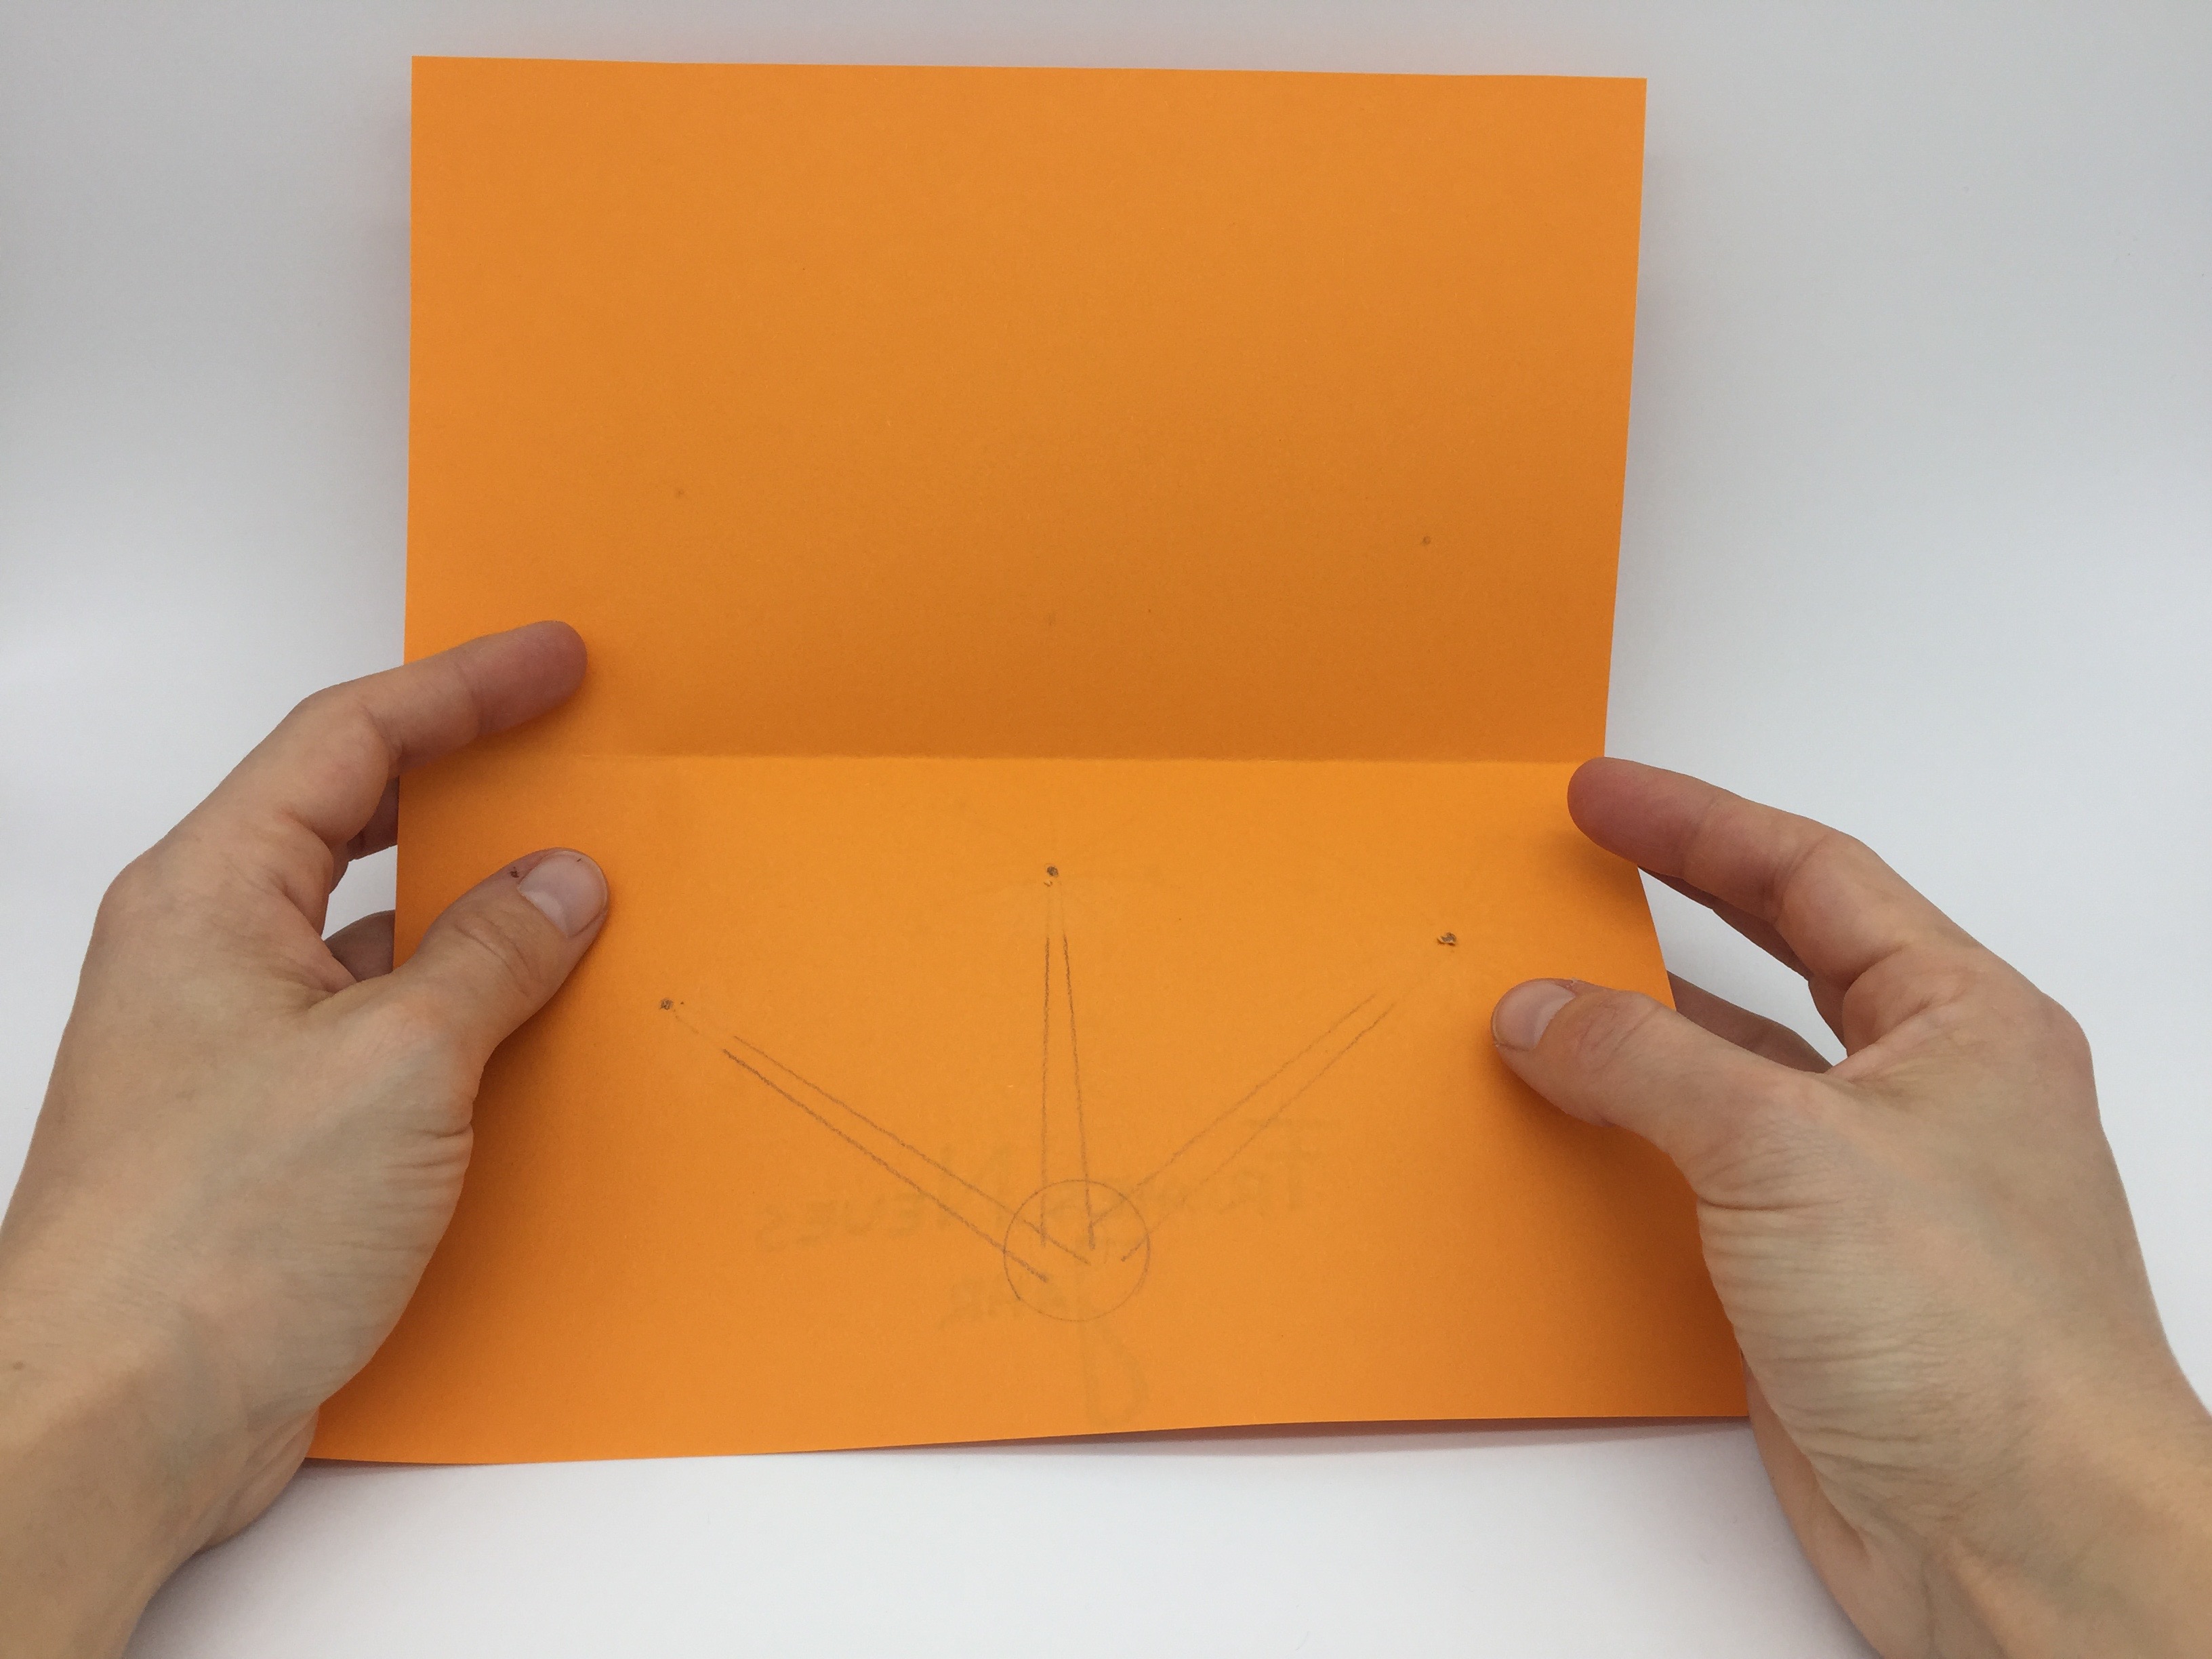
Step 4: Unfold the card and draw the lines for the copper tape best.
Important: The LEDs light up when one “foot” touches one side of the battery and the other “foot” touches the other side. If it doesn’t work, they swap sides. There is only one way to do it.
The copper tape is the extension of the LED feet. So it must be glued once under and once on the button battery.
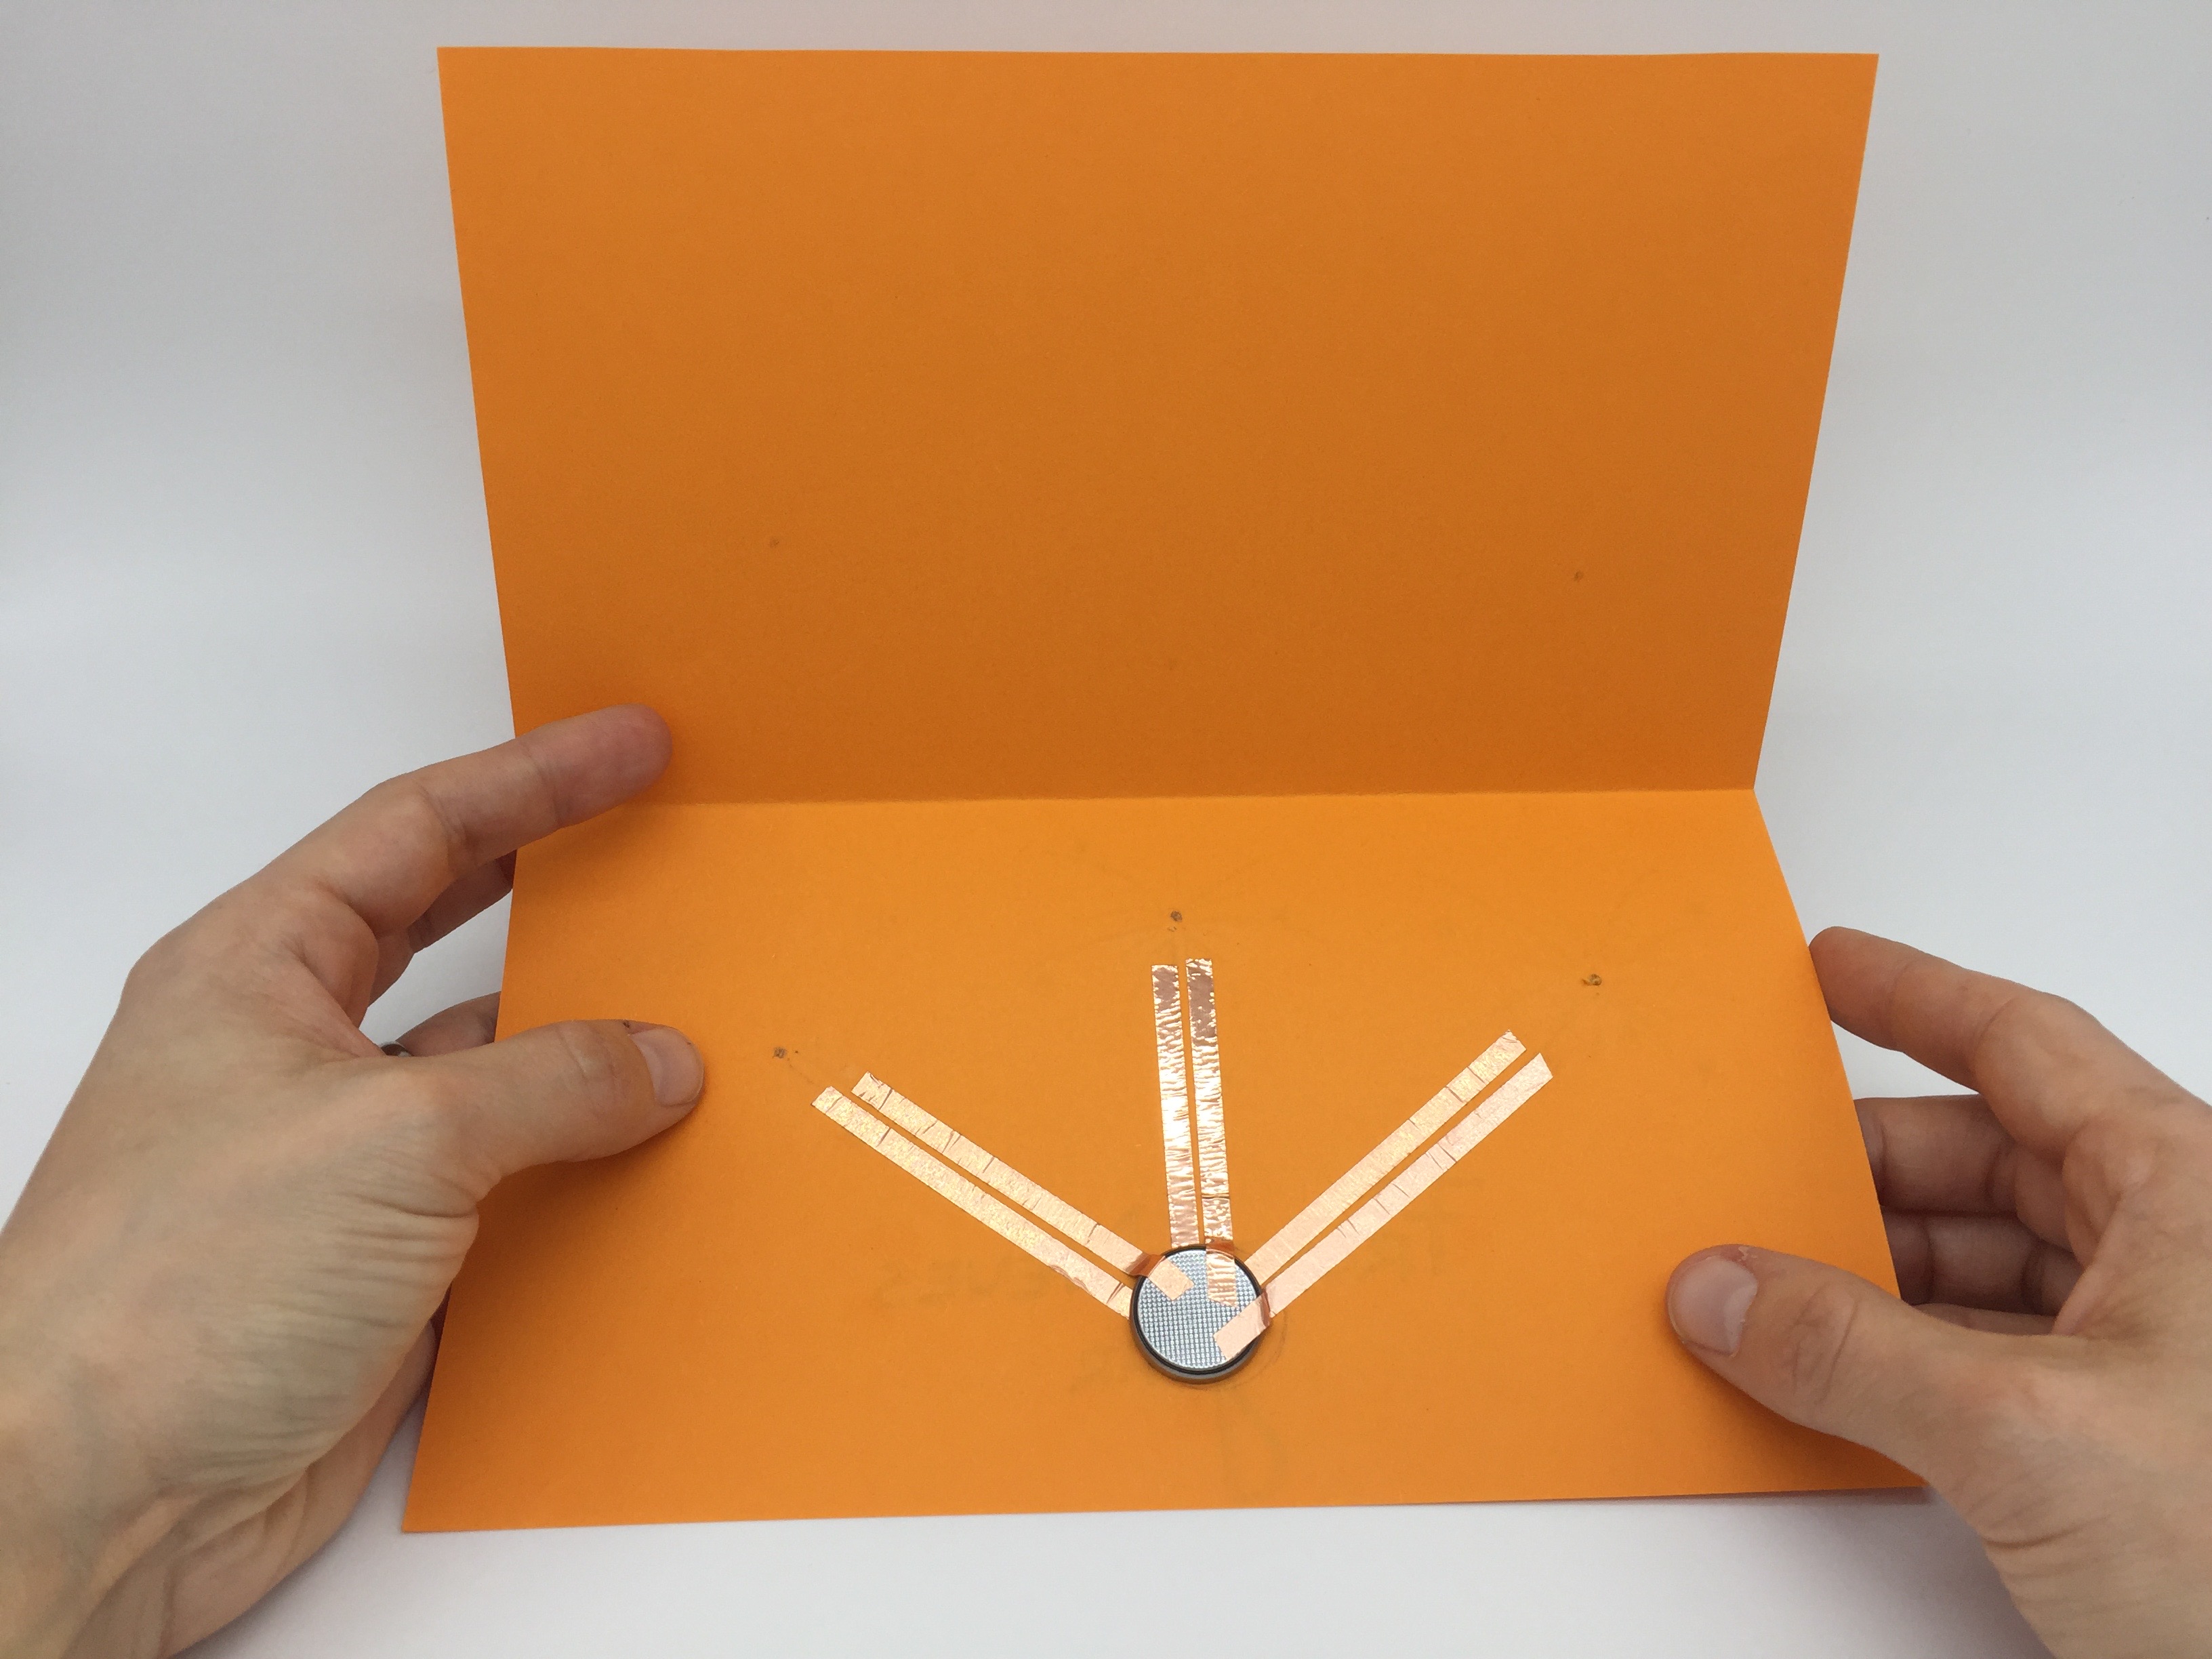
Step 5: Stick the copper tape and button battery on the inside of the card under the holes. In the example, three strips of adhesive copper must stick under and three on the button battery. Attention! The copper adhesive strips must not touch each other!
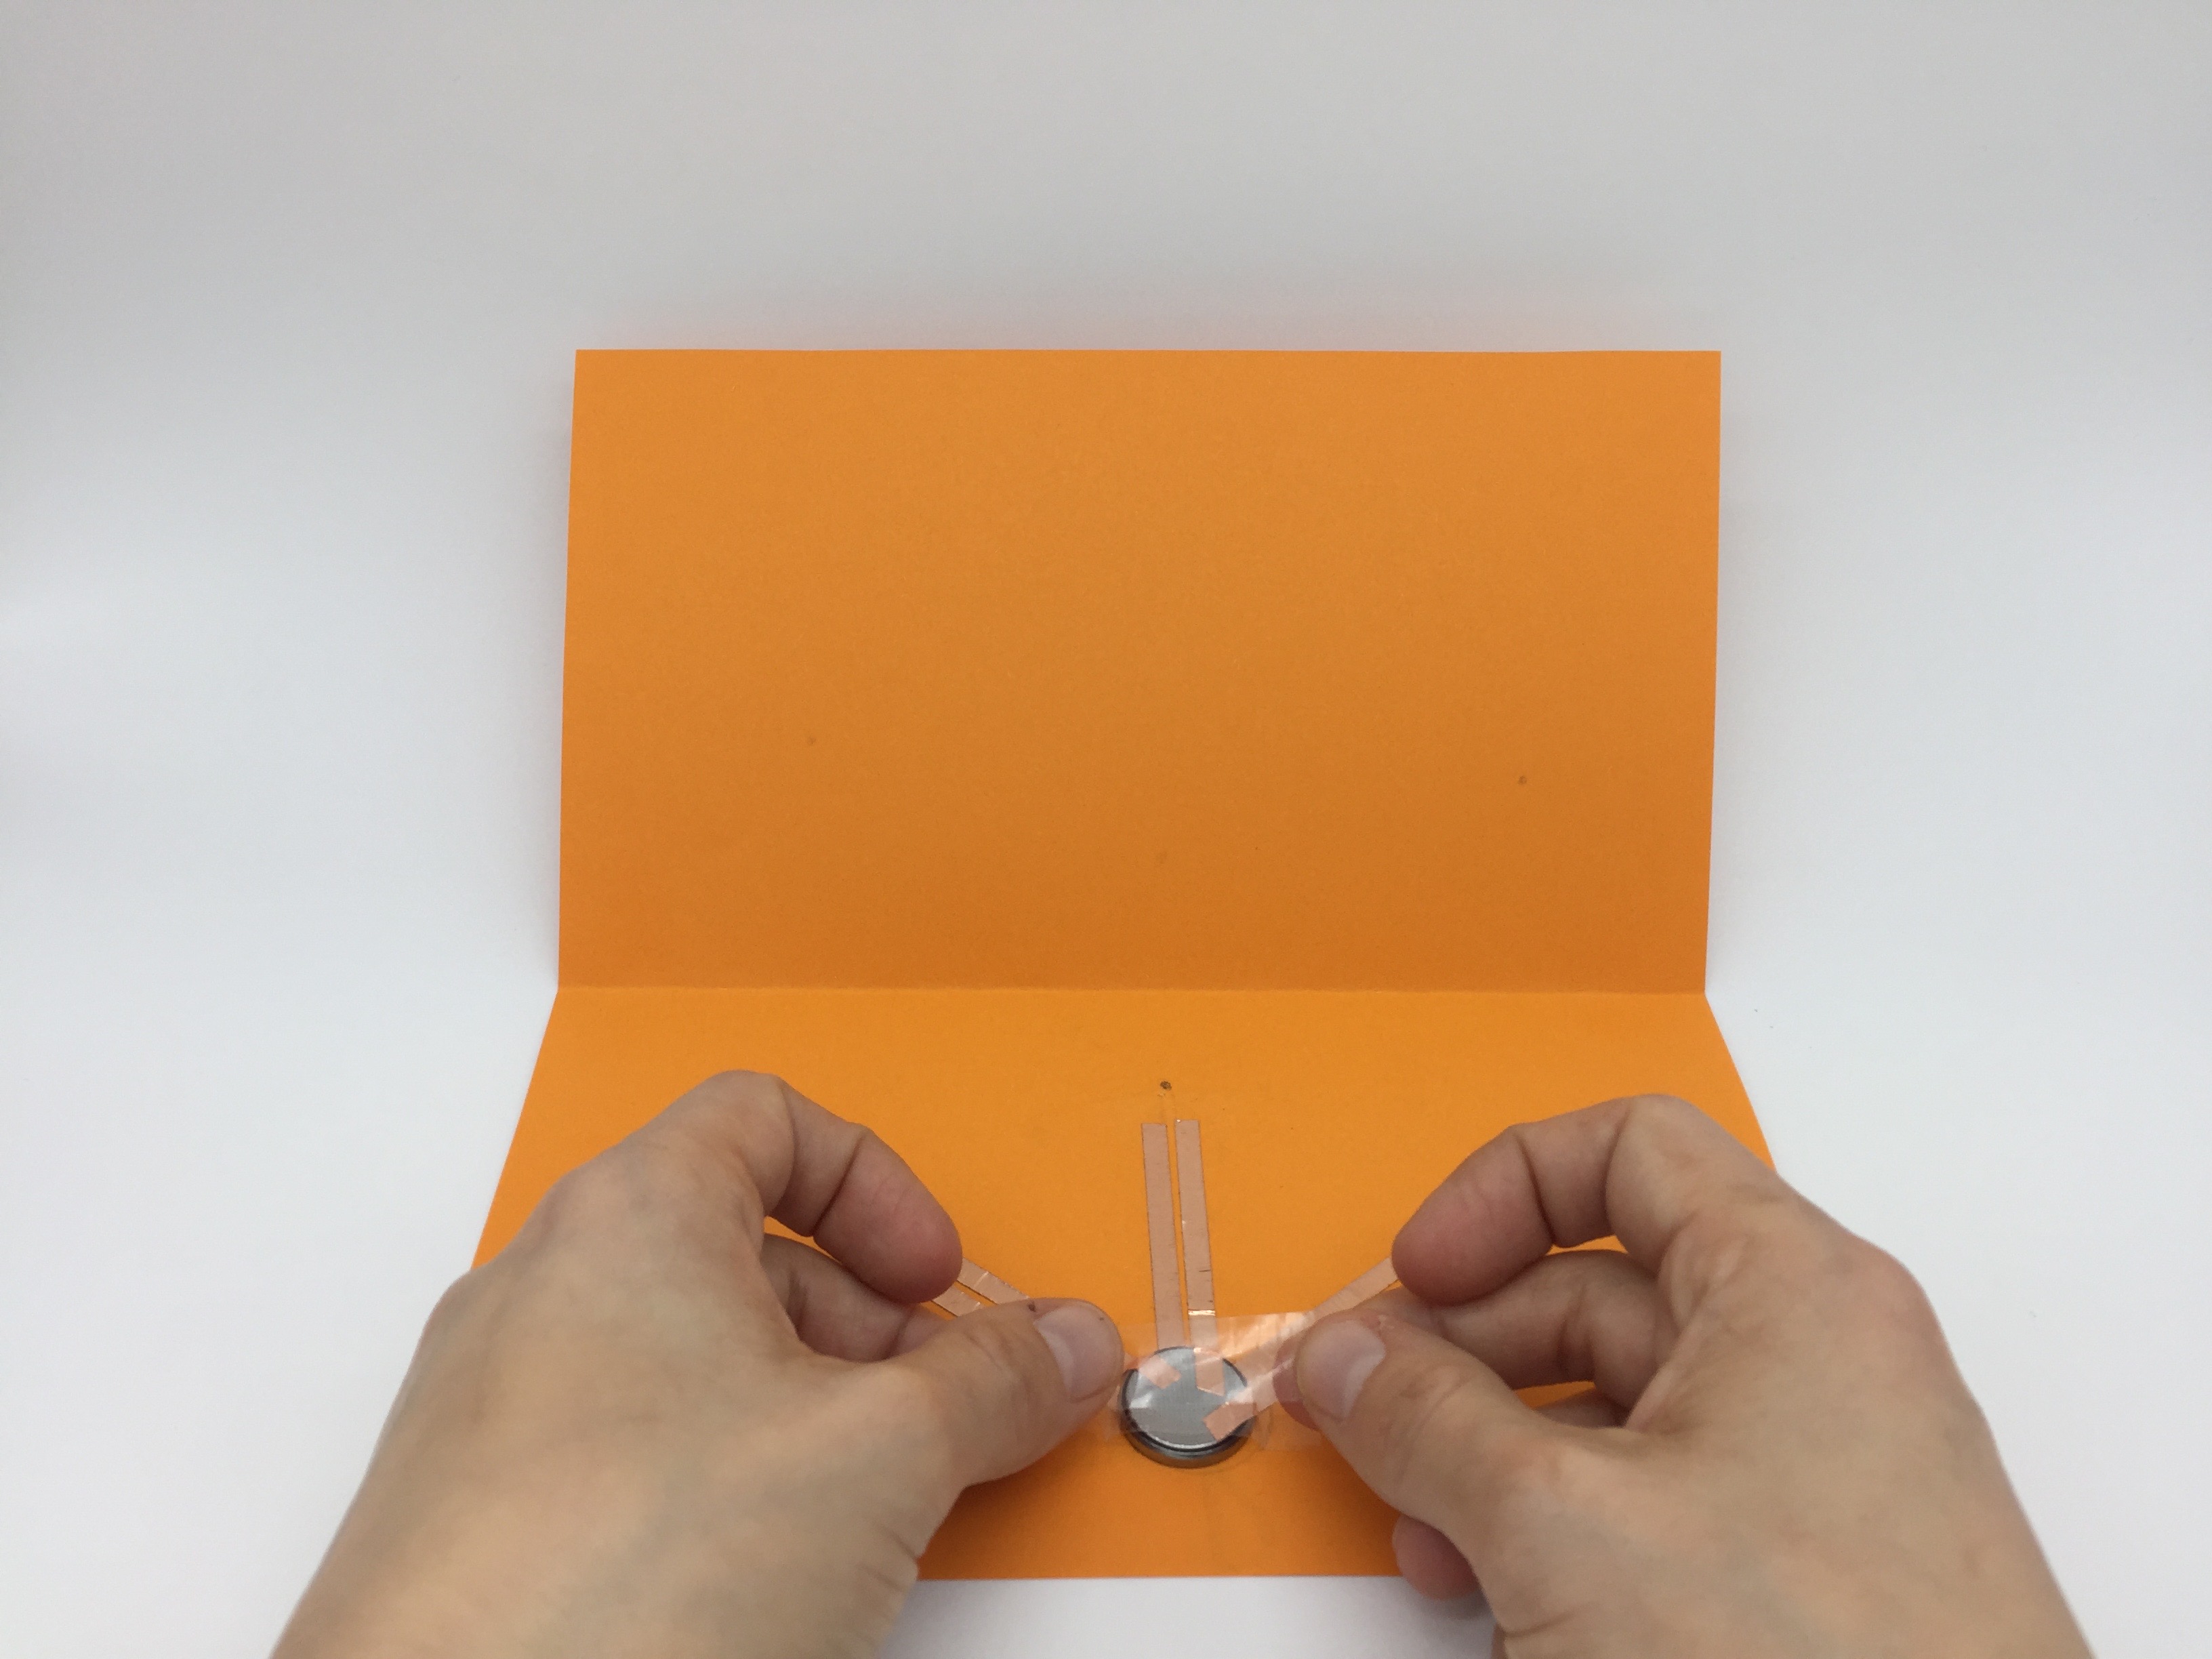
Step 6: Attach the battery extra to the card with an adhesive strip. If it is not tight, it will lose contact with the lower copper tapes and the LEDs will flicker.
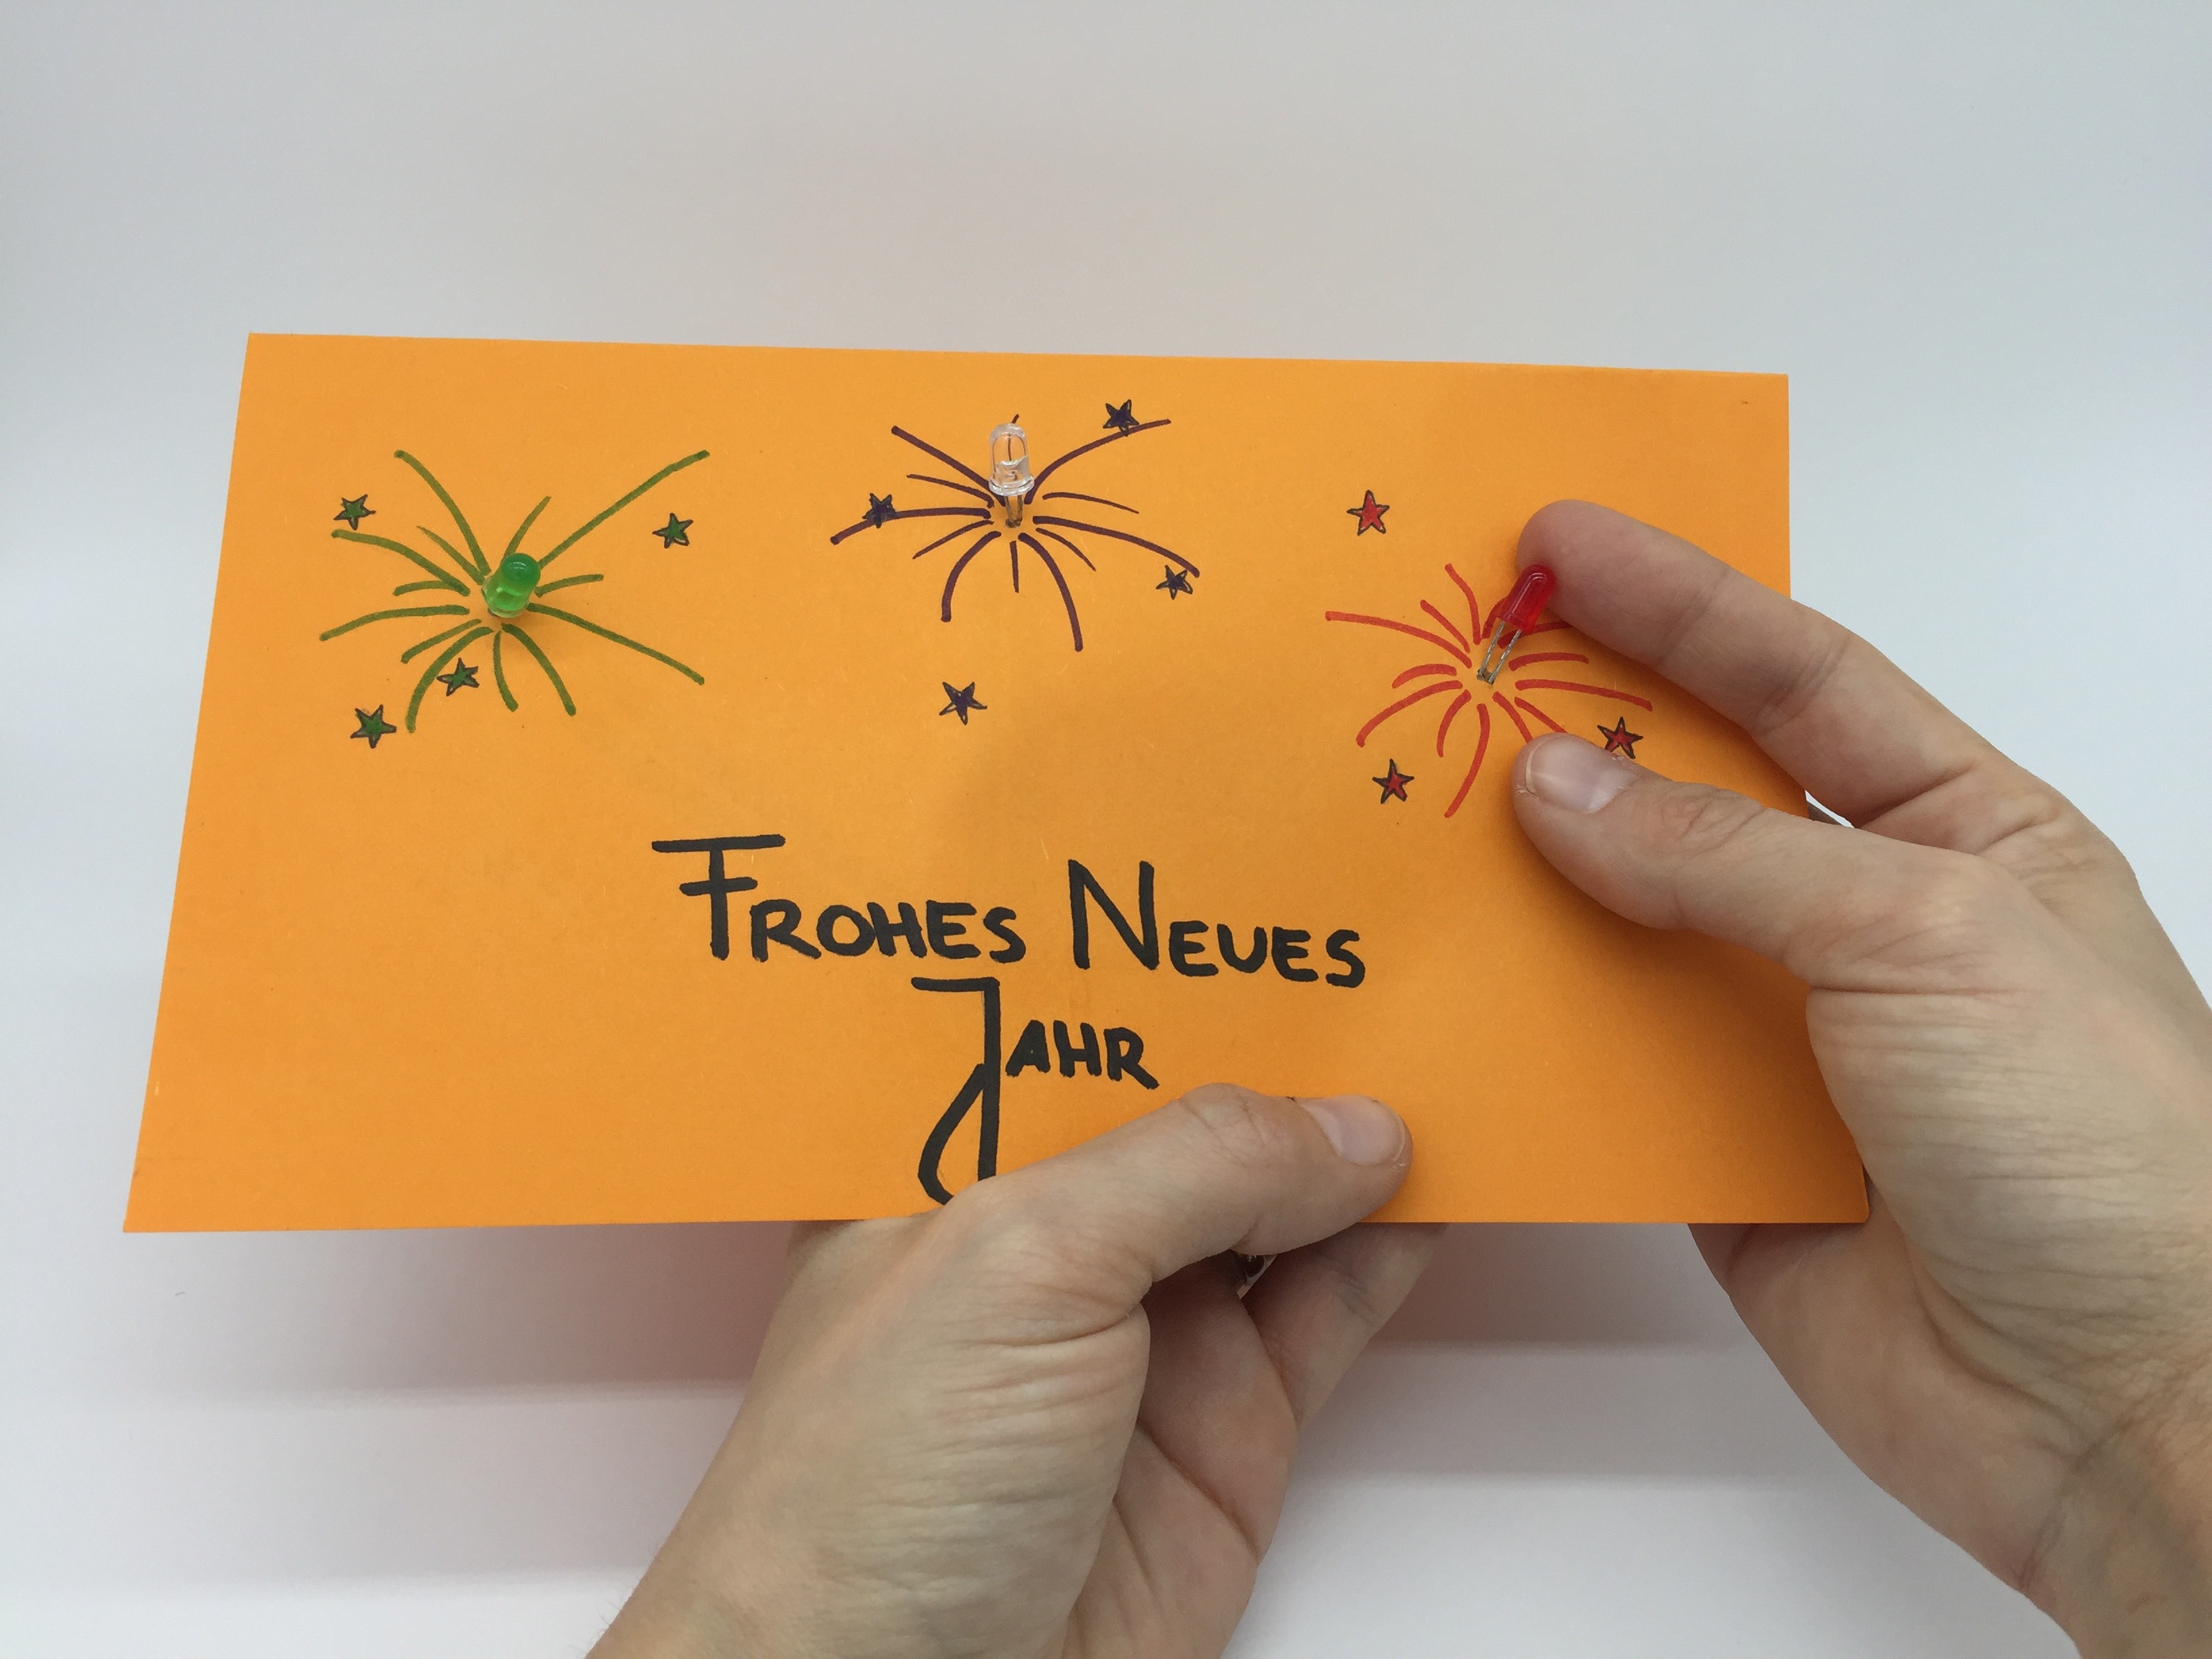
Step 7: Insert the LEDs through the holes from the outside.
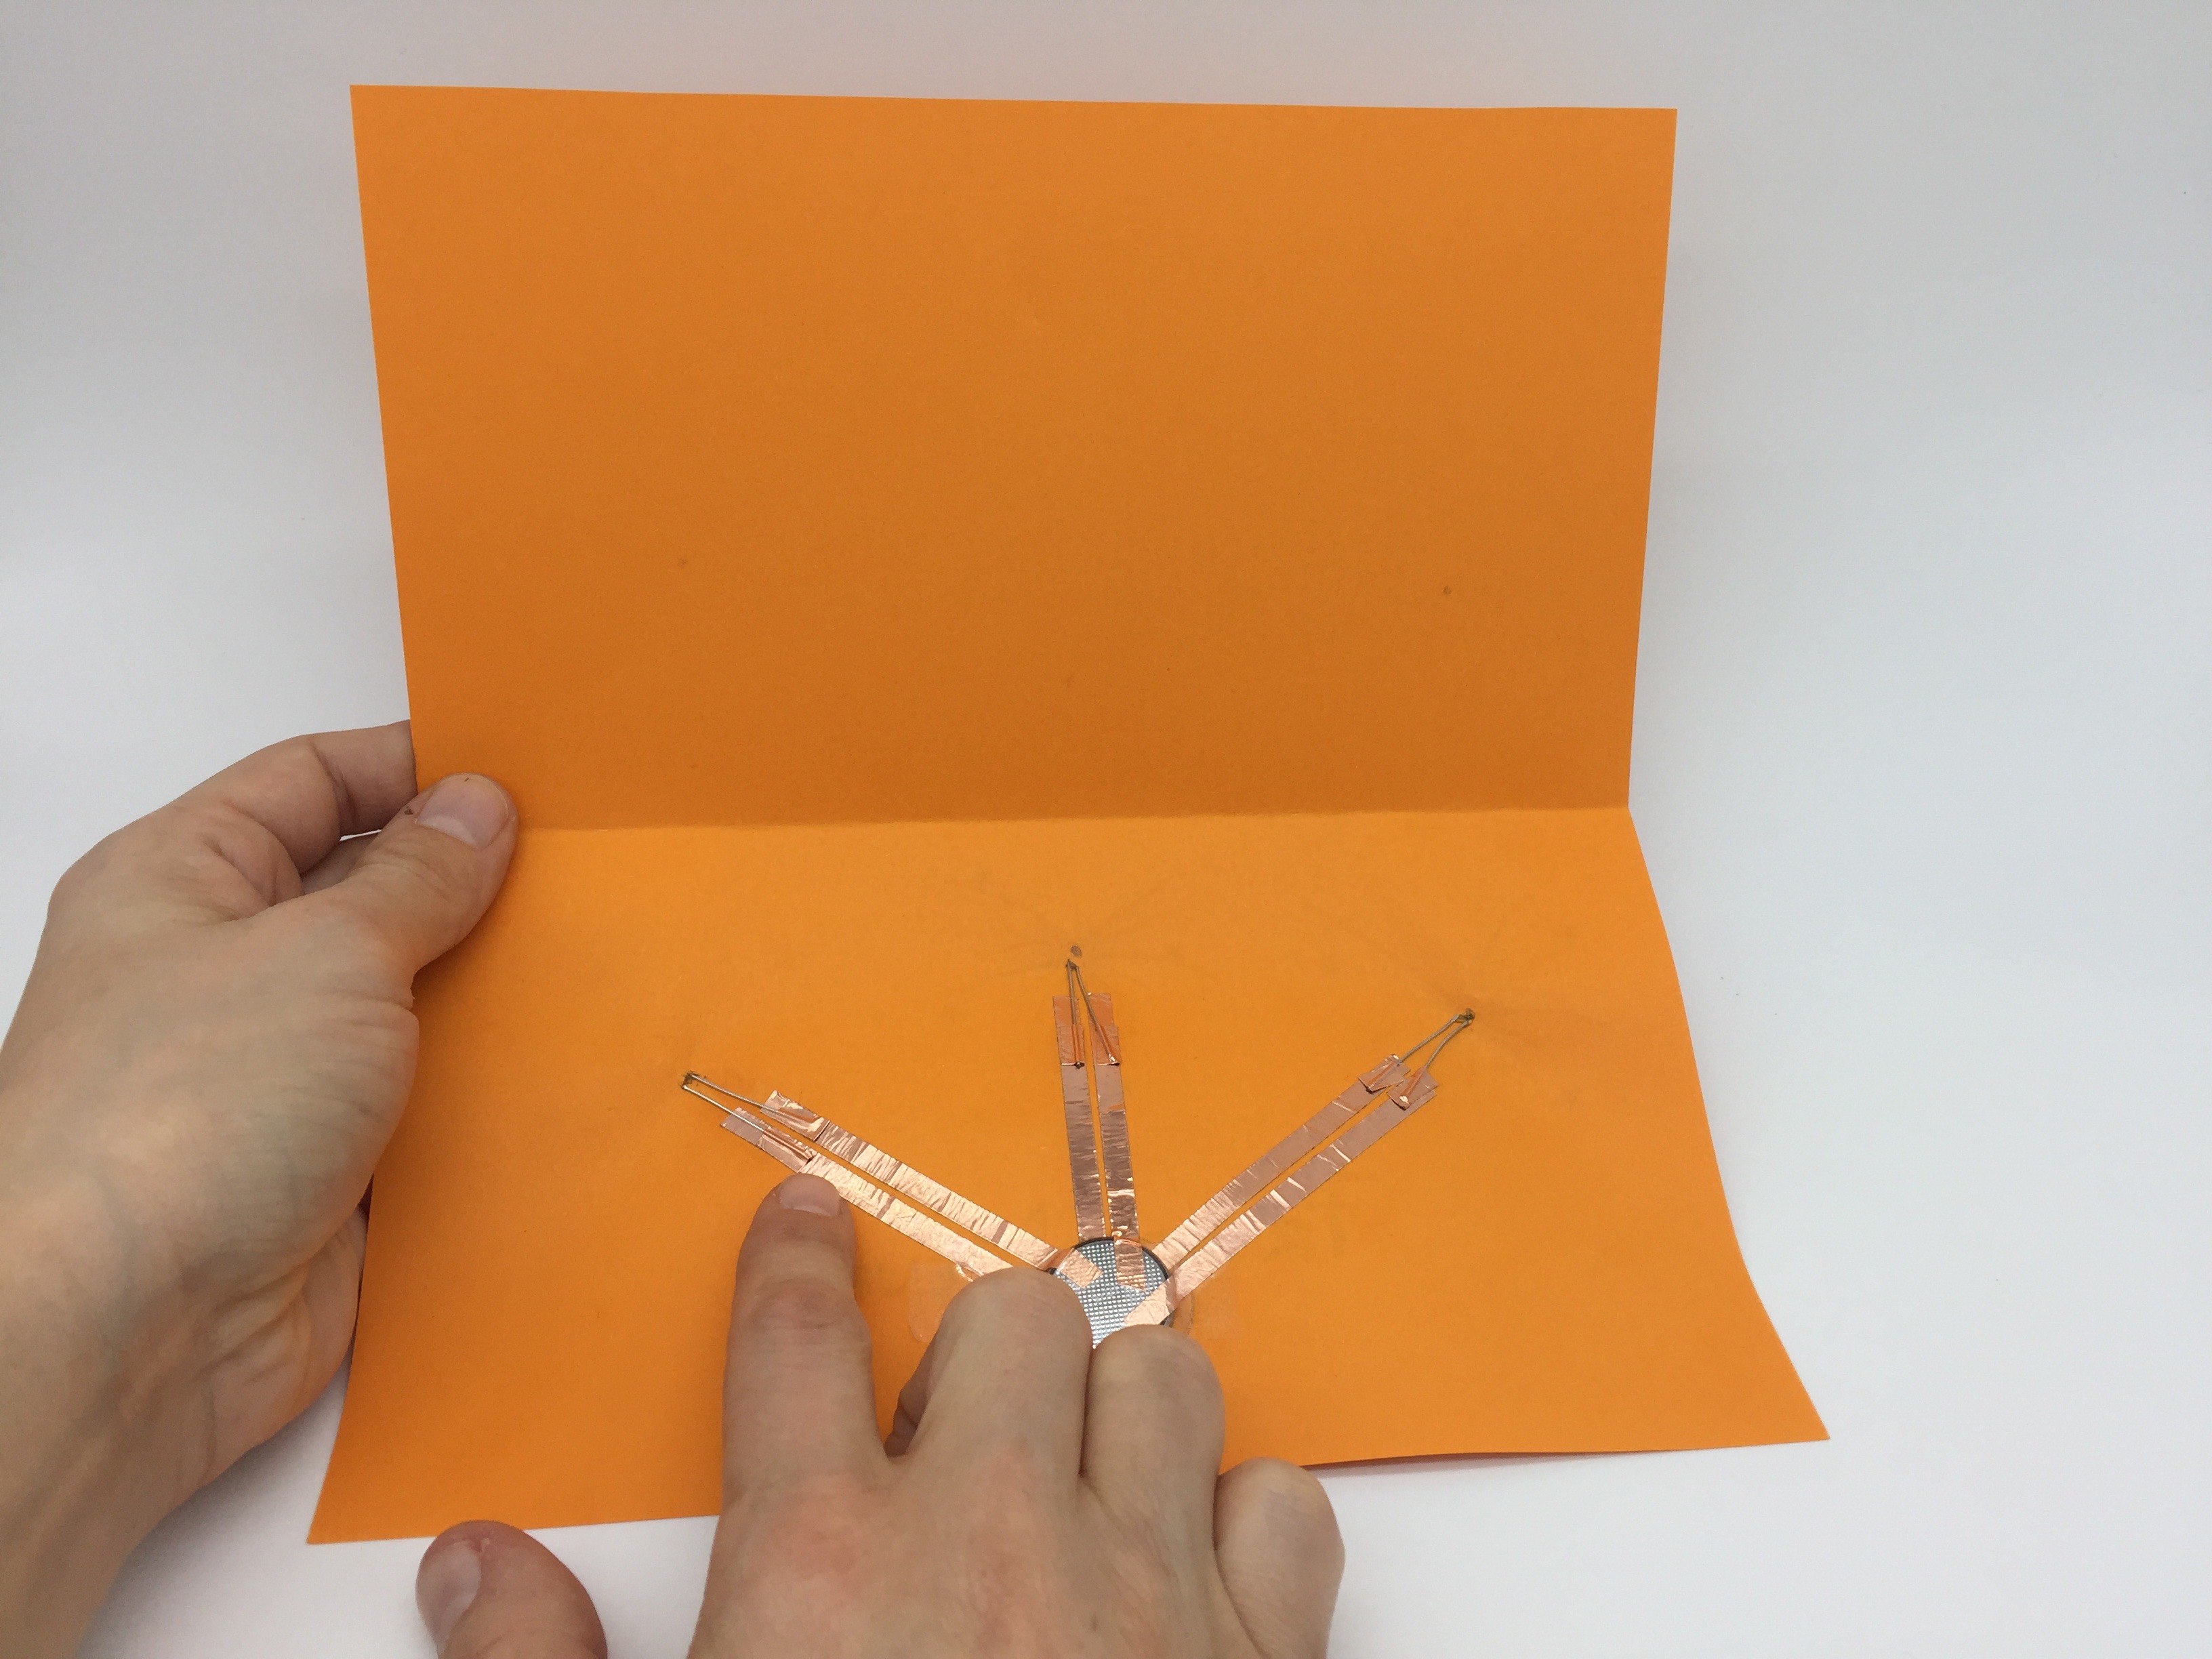
Step 8: Attach the feet to the copper tapes with adhesive tape. Make sure that the feet are attached to the correct strip, otherwise the LEDs will not light up. Test beforehand which little foot belongs to which strip.
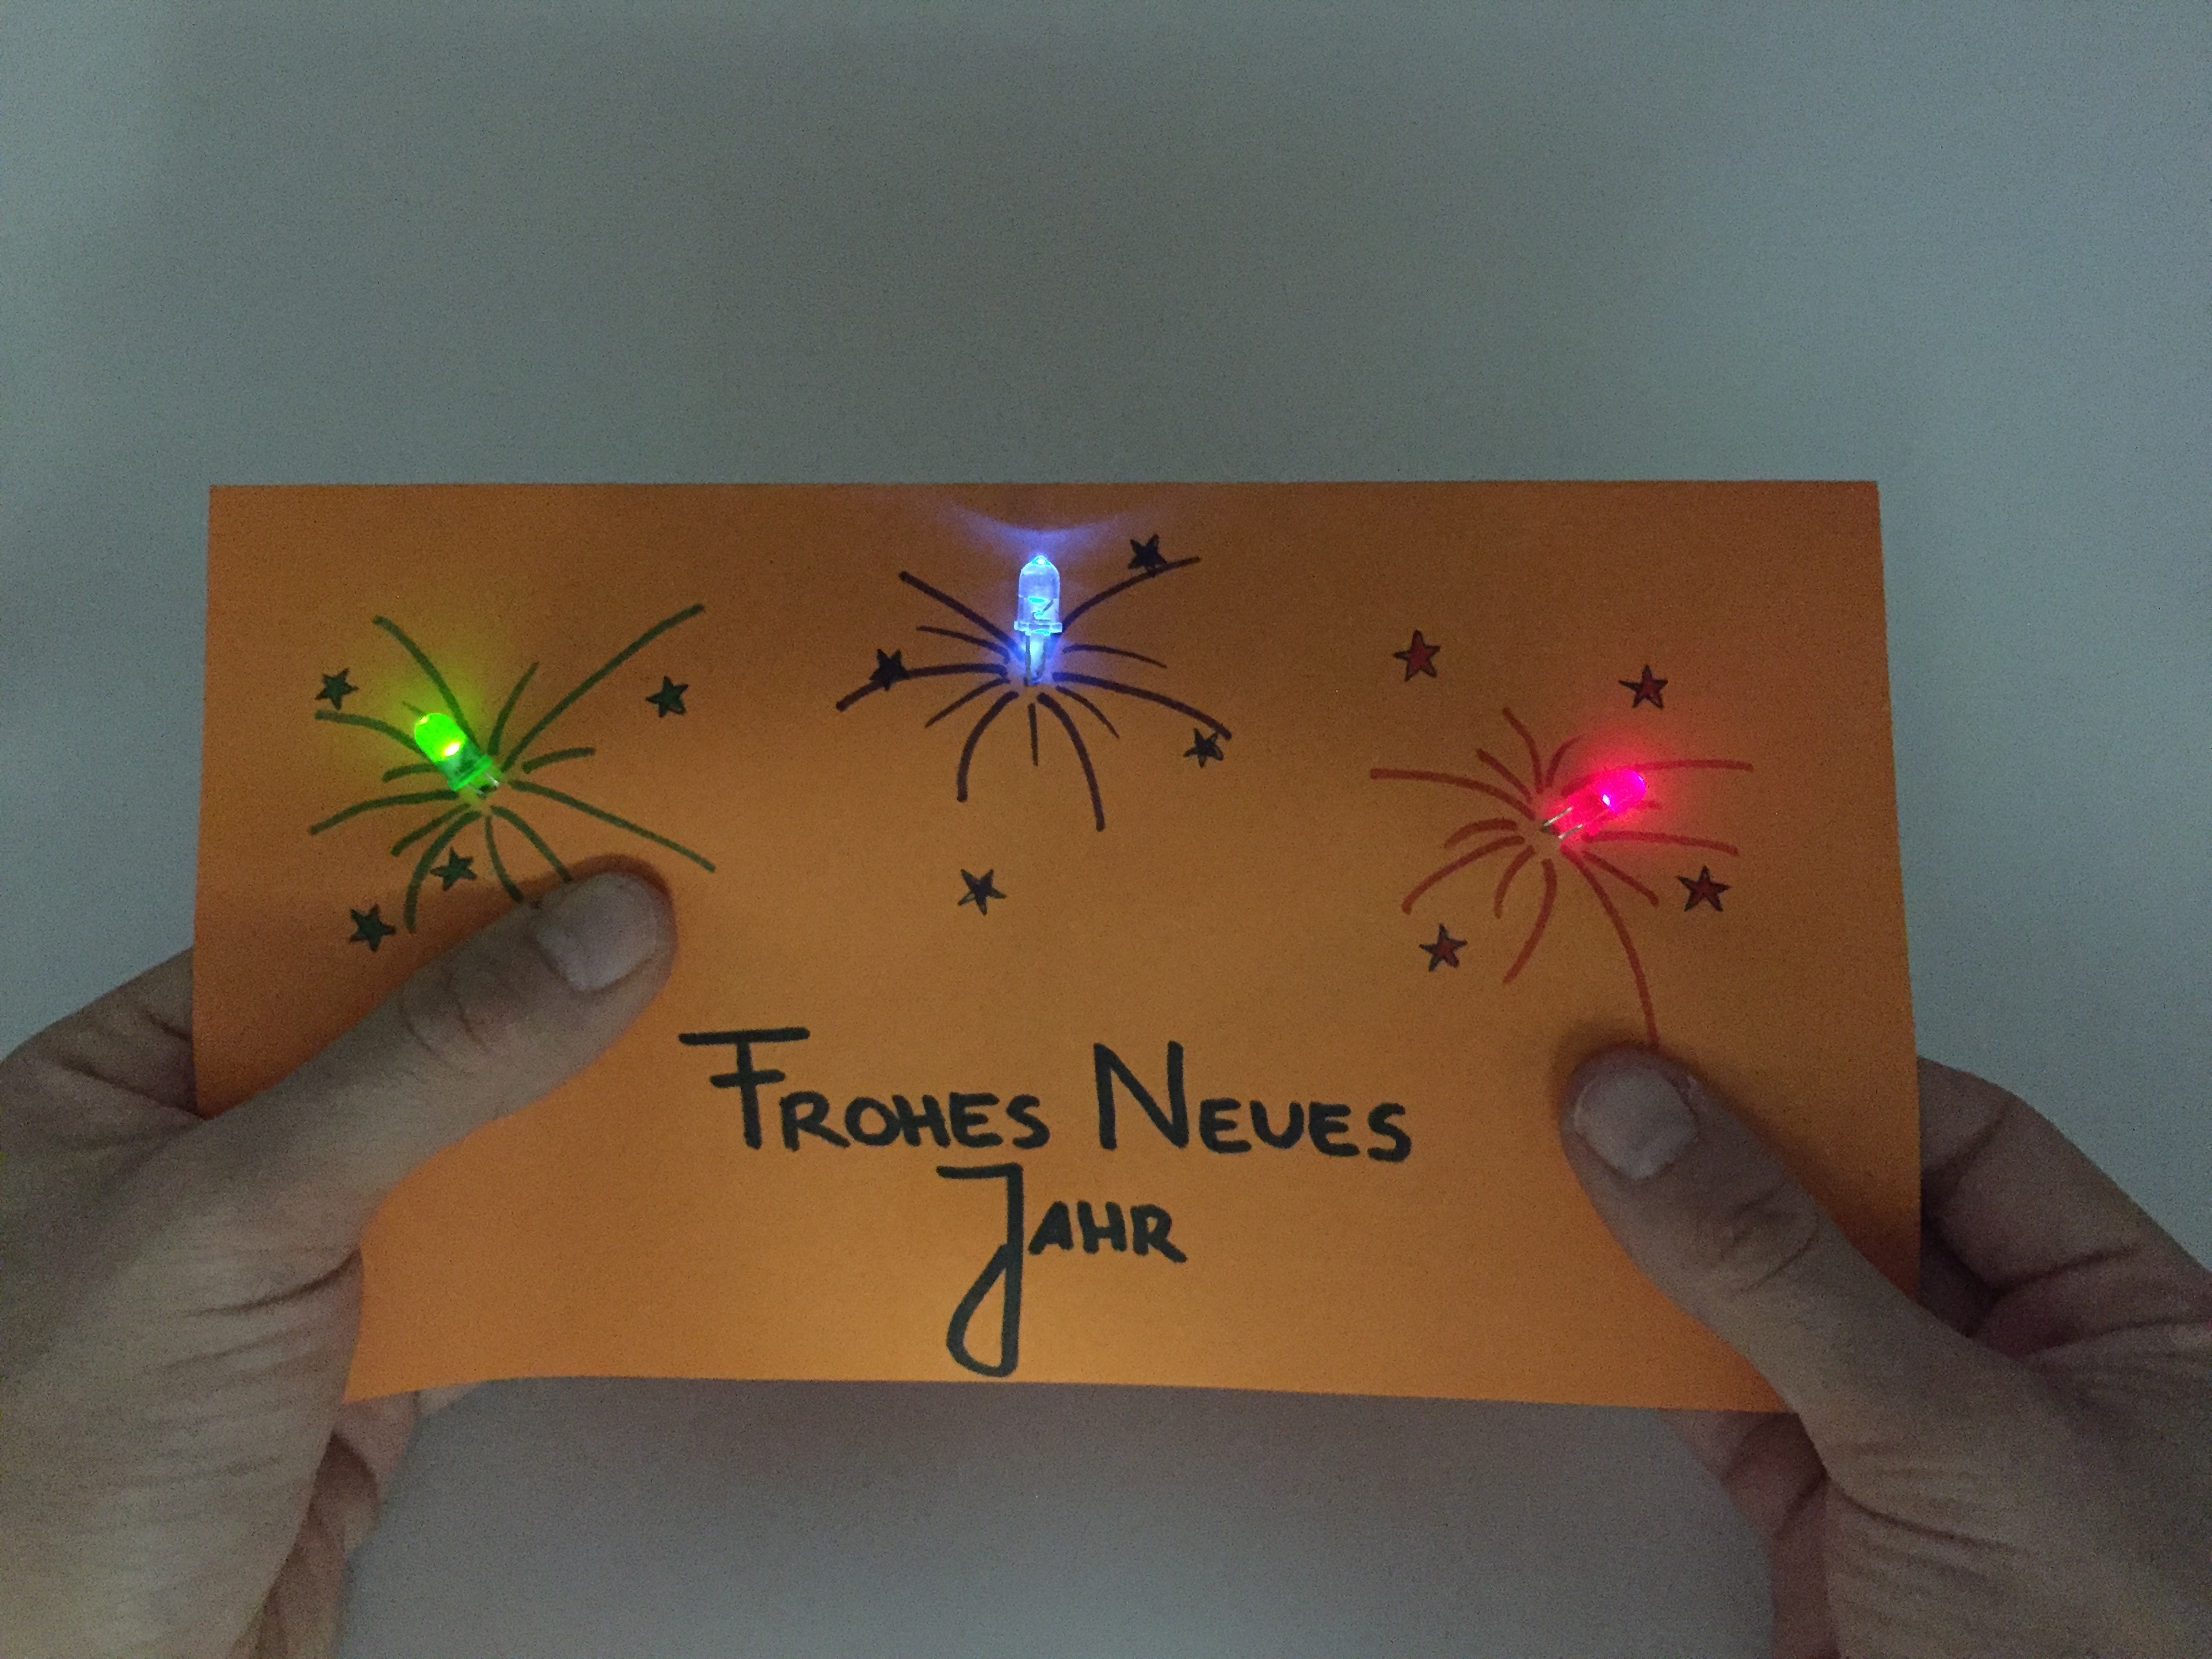
Step 9: And now, lights out! Fold the map and view your own making product.
About the author:
Kristin Narr is freelance media educator. Her work focuses on the open, creative, and participatory use of digital media, digital child and youth participation, and learning in digital environments.