A few years ago, there were still cassettes with which children could listen to the stories of Benjamin Blümchen, the little raven Sock and children’s songs of all kinds. Insert the cassette into the recorder, press “Play” and off you go! It was also child’s play to record your own sounds, music or stories on cassette.
Today, small listening boxes such as the tigerbox and Toniebox moved into the children’s rooms. These play stories as soon as an associated figure is placed on the box. A great thing for the kids, but also very expensive. Yet such a radio play box can be recreated with a little skill and a smartphone!
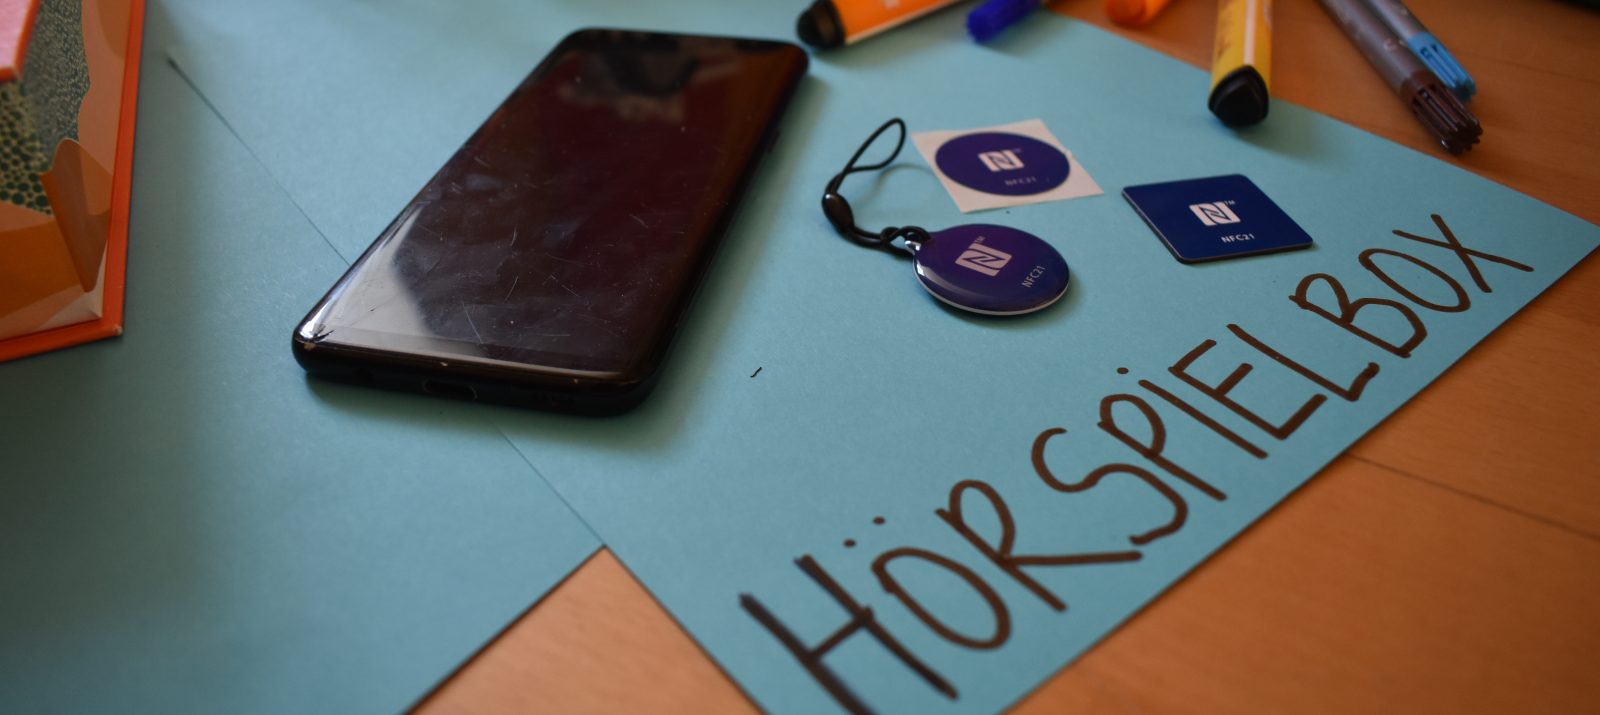
Now this all sounds very technical, but it’s not at all. The radio play box is replaced by a cell phone and the character by an NFC chip. The rest is done by the selected app almost by itself.
First, make sure that the smartphone supports NFC. NFC is short for near field communication. In other words, communication between two elements: the smartphone and the chip, which can only communicate with each other within a few centimeters. You can see if your device supports NFC in the smartphone settings by searching for NFC and activating it. The position of the NFC reader is in the center of the back of the device in most smartphones. Put the purchased NFC stickers ready.
Now it’s about the app, which is supposed to program the NFC chip. It’s easier than it sounds! The matching app is available in the Play Store or Apple Store. With the paid app NFC Tools PRO audio files that are on the smartphone can be programmed directly onto the chip. This doesn’t work as easily with other apps. The corresponding app will now open.
Hold the NFC chip against the back of the smartphone. After the chip has been recognized by the app, its properties are displayed in it (under READ). To describe the chip, it must be assigned a task. To do this, go to TASKS > Add task > Sound & Media > Play a sound file > and select the desired audio file. To program this command now to the NFC chip, Write must be clicked under TASKS. To do this, the chip must once again be held against the back of the cell phone. After that you will receive a confirmation of the overwriting.
Now the chip is programmed and the audio can be played when it is held on the back of the smartphone.
With these basic building blocks, you can now get creative together with your child. The NFC chip or sticker can be attached to game pieces, stuffed animals, etc. A container made of Lego, cardboard or wood for the smartphone can be connected and become a whole personal listening box with a speaker. For ideas on how to create your own audio content, check out our article “Listening Projects for Kids.”
Making your own listening box can be a fun family project. Children and parents learn about technology together and can get creative.
Even more ideas for homemade listening boxes can be found on the following pages: